OTP Server Integration Module
Citrix XenApp Web Interface 5.4
Table of Contents
Table of Contents 1 Overview
1.1 Integration Overview
2 Requirements
2.1 Minimum Requirements 2.1.1 Citrix
2.1.2 Nordic Edge One Time Password Server 2.1.2 Integration Module Files
3 Installing the Integration Module
3.1 Installation Guide
3.2.1 Configure Citrix XenApp Web Interface
4 Configuring Nordic Edge® OTP Server 3.x
4.1 OTP Server Configuration
5 Restarting the IIS Web Server
5.1 Restarting IIS
6 Testing the Web Interface
6.1 Running the Web Interface with the Nordic Edge OTP Integration
7 Appendix
7.1 Troubleshooting
7.1.1 Troubleshooting & Support
1 Overview
Nordic Edge One Time Password Server ™ adds an extra security layer to protect your applications. When the user id and password is successfully verified, a “One-Time Password” is sent to the user’s mailbox or mobile phone through SMS (Short Message Services). This “One-Time Password” will be verified and only then will the user be authenticated to the application.
1.1 Integration Overview
Citrix® XenApp™ Web Interface 5.4 integration module for Nordic Edge One Time Password Server ™ enables strong authentication for Citrix XenApp Web Interface.
2 Requirements
2.1 Minimum Requirements
2.1.1 CitrixThe integration requires Citrix® XenApp™ Web Interface 5.4
2.1.2 Nordic Edge One Time Password Server
OTP Server 1.6 (Build 2471) or later
2.1.2 Integration Module Files
Download OTP_Server-CitrixXenAppWebInterface5.4.zip
The OTP Server must be configured before the integration module can be used.
3 Installing the Integration Module
This chapter describes what’s required for the installation.
3.1 Installation Guide
1. Download the latest package and the latest revision of this document from the Nordic Edge One Time Password Server™ product site.
2. Backup the Citrix web root, c:\Inetpub\wwwroot\Citrix (default location)
3. Unpack the zipfile contents to c:\Inetpub\wwwroot\Citrix
4. If the Nordic Edge One Time Password Server™ is installed on another machine than the Web Interface, change /XenApp/auth/loginOTP.aspx to point to the correct server ip address or hostname. It is configured to 127.0.0.1:3100 by default.
5. Open web.config in an editor (sample location
C:\Inetpub\wwwroot\Citrix\XenApp\web.config).
Make the following changes (NOTE, loginOTP.aspx has to be written case sensitive):
Add the string /auth/loginOTP.aspx to the key AUTH:UNPROTECTED_PAGES. Example:
<add key="AUTH:UNPROTECTED_PAGES" value="/auth/loginOTP.aspx,/ rade.aspx,...
In the <appsettings> section, add a value to <add key="RADIUS_NAS_IDENTIFIER" value="servername" />, for example the name of the Citrix server.
The RADIUS_NAS_IDENTIFIER value must be present in the site's Web configuration file. The RADIUS_NAS_IDENTIFIER value can be any string containing three characters or more. In other words: Replace the value "servername" with the name of your server (at least 3 characters) or just keep the string "servername".
3.2 Configuration
3.2.1 Configure Citrix XenApp Web Interface 1. From the Start menu:
Programs > Citrix > Management Consoles > Citrix Web Interface Management
3. In the right pane "XenApp - Edit Settings": Click on "Authentication Methods”
4. Select Explicit, and press ”Properties”
Figure 2
5. Select ”Two-Factor Authentication”
6. In the drop-down ”Two-factor setting:”, select ”RADIUS” 7. Click on ”Add...”
8. Enter the IP address of the OTP Server (127.0.0.1 if the OTP Server is installed on same machine. Set the RADIUS port used by the OTP Server (default value: 1812).
Figure 5
9. Press OK to save configuration
10.Check if the file radius_secret.txt exists in:
c:\Inetpub\wwwroot\Citrix\XenApp\conf
If not, rename the file radius_secret.txt.sample to radius_secret.txt, edit the file and enter a shared secret (it will also be entered in the OTP Server)
4 Configuring Nordic Edge® OTP Server 3.x
Install Nordic Edge® OTP Server as described in the installation documentation.
4.1 OTP Server Configuration
1. Select “Databases” in left pane. Press "LDAP Database"
2. Host Settings 3. Note
4. Database Display Name: 5. Enter a display name
6. Host Address: 7. The IP address to the LDAP directory
8. Portnumber: 9. The IP address portnumber of the LDAP directory
10.Admin DN: 11.The admin DN
12.Password:: 13.The admin password
14.Test LDAP Connection 15.Use this button to verify your LDAP settings
16.Search Settings 17.Note
18.Search Base DN: 19.The DN where to start search for users
20.Search Scope: 21.Search level, SUB, ONE or BASE
22.Nr of Connections: 23.The number of LDAP connections the OTP server should use
24.Search Filter Start: 25.The start of the search filter to be used to authenticate users
28.Account Settings 29.Note
30.OTP Attribute: 31.The user attribute where to get the mobile number/email address
32.
2. Select “Clients” in left pane.
3. Name & Address 4. Note
5. Client Display name: 6. Enter a Client name
7. Client IP Address: 8. Enter the IP Address of the Citrix XenApp Web Interface server
9. RADIUS Options 10.Note
11.Shared Secret: 12.Enter the Shared Secret (same as in radius_secret.txt)
13.Auth. Server IP Address: 14.The IP address of the Citrix XenApp Web Interface Server
Figure 7
15.Select “RADIUS” in left pane.
16.Radius & Server Settings 17.Note
18.Enable Radius: 19.Check this box
Figure 8
5 Restarting the IIS Web Server
Before you can use the Web Interface, you have to restart the IIS.
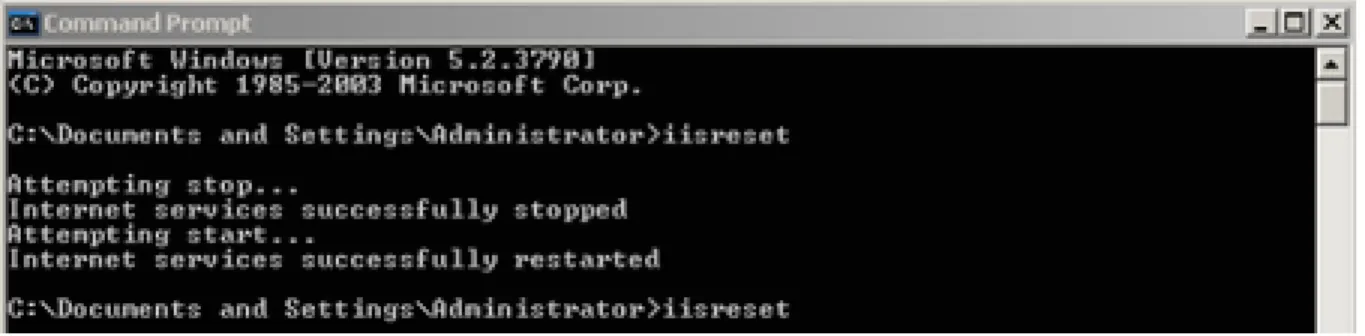
5.1 Restarting IIS
Open a command prompt and type iisreset to restart the Internet Information System.
6 Testing the Web Interface
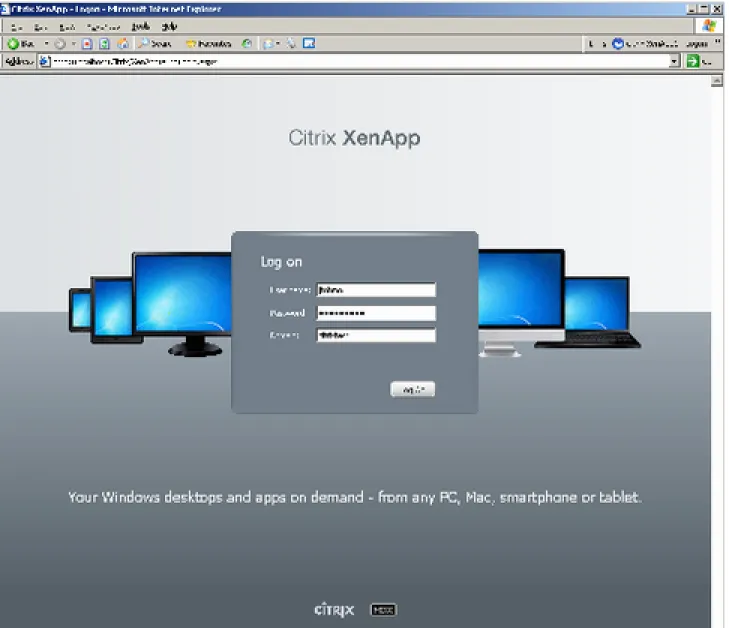
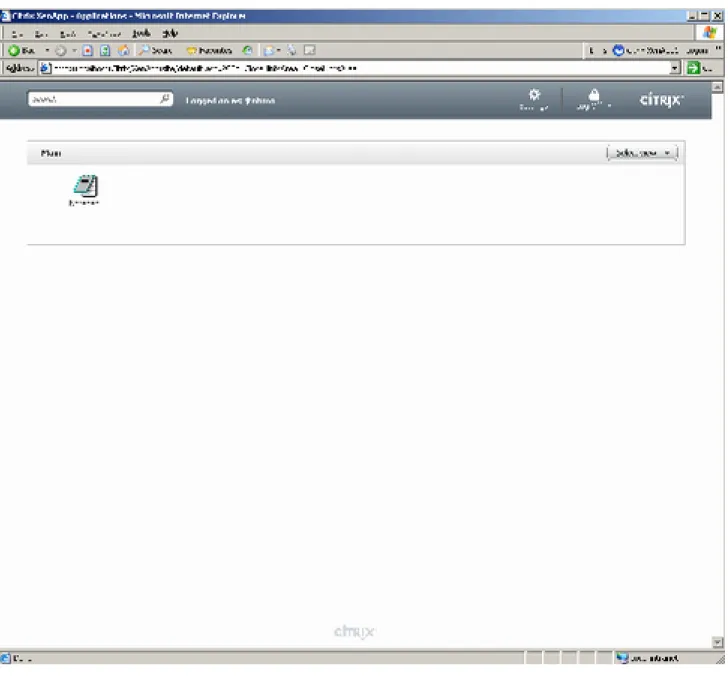
6.1 Running the Web Interface with the Nordic Edge OTP Integration
To test the web application in your browser, type the required URL such as: http://localhost/ Citrix/XenApp/auth/login.aspxFigure 11: Login page
Figure 12: OTP page
7 Appendix
7.1 Troubleshooting
7.1.1 Troubleshooting & SupportFor troubleshooting and support, please go to http://www.nordicedge.se or send an email to [email protected]
8.1 Document History
Revision Date Description
0.1 2011-02-07 Initial version
1.0 2011-02-09 Approved