Coordinator installation - install the coordinator at the car wash, preferably in the pump room, near an electrical outlet and the internet connection.
Power Cord – plug in the supplied power cord to coordinator and into wall outlet.
Internet Cable – plug in the supplied internet cable to the coordinator and into your router box.
Antenna – attach the supplied antenna to the coordinator. Run Light – run light flashes indicating you have an internet connection to the coordinator.
Configure Coordinator – coordinator will need configured. Note: Write down the CPY number labeled on the coordinator and retain number. You will need this for the coordinator configuration discussed later in Step 3 – Online Configuration.
Note 1: The radio signals between the coordinator and the swipers can easily travel through non-metal walls, but cannot travel through metal plates or large metal objects like metal walls and roofs, pumps, control boxes, or water tanks.
Note 2: If you are using a Wi-Fi network on your site, be sure to separate the wireless router's antenna from the CryptoPay coordinator's antenna by at least 6 feet. This will prevent radio interference.
Swiper installation – mount swiper at Coin Box or Vacuum. Three holes are required – two for mounting screws and one for the power and signal wires to pass through. Swiper must be mounted in a vertical position with button at the bottom of the swiper (See Figure 1: Coin Box). Swiper mounting template is on page number 6. Swiper Power Wires – connect 24VAC to the swipers black and yellow wires. Black Wire: 24VAC Common, Yellow Wire: 24VAC Hot. Additional wiring detail is provided on page number 4 of this quick start guide.
Swiper Signal Wires – determine which signal wire to use and hook to your timer. Blue Wire: DC Signal Pulse, Red Wire: AC Signal Pulse. Additional wiring detail is provided on page number 4 of this quick start guide.
Swiper Light Bar – After connecting 24VAC, the light bar on the front of the swiper will light up. If the swiper's LED bar is blinking yellow, then the swiper is in “Out of service” mode. In this mode, the swiper must be configured before use.
Configure Swiper – swiper will be configured in Step 3 – Online Configuration. Note: Write down and retain the 16 digit Swiper ID labeled on the back of the swiper with mounting location (58d6561ed06471f7-Bay 1). You will need this information for the swiper configuration discussed later in Step 3 – Online Configuration. Note 1: Be sure that the swiper is mounted with sufficient space above and below the swiper so that a credit card can enter and exit the swiper without hitting any obstacle, such as a wall or box edge that protrudes from the front of a coin box. Note 2: Only one signal wire will be connected – red or blue.
Run Light Power Input Internet Antenna CryptoPay Swiper Coin Box Timer
Coordinator and Swiper Configuration – the CryptoPay Coordinator and swiper(s) are programmed online. Follow the instructions below to program your equipment. Note: to configure your equipment your coordinator must be connected to the internet and your swiper(s) installed at the wash site.
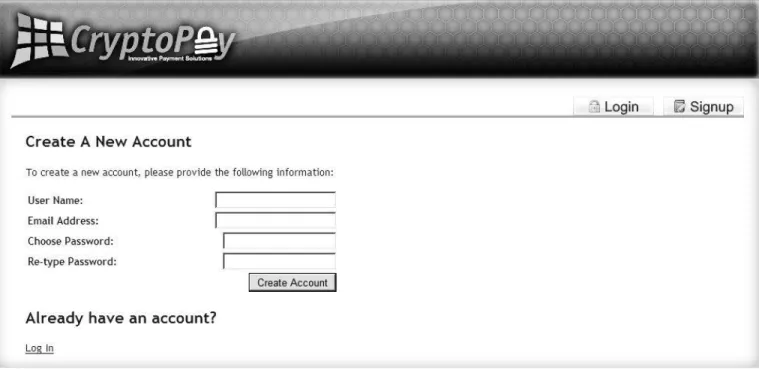
Online Configuration – Go to www.mycryptopay.com/login and click on the “Create A New Account” link. Fill out the form by entering a user name, email address, and password then click the “Create Account” button when finished (see Figure 2).
Log In – Now that your account has been created, go ahead and click “Log In”. Enter your user name and password and click login button. You will see a message saying you haven’t added or been delegated to manage any sites yet. Click the “here” link to add your first site.
Adding/Naming the Site – Fill out the form, naming the site as you see fit, selecting your time zone and typing the “CPY” number in the “Site Code” field. The “CPY” number can be found labeled on your Coordinator unit. Note:The “CPY” number must be entered exactly as printed on the label. Now Click the Add Site button.
Setup – Once the site has been added you will be returned to the “My Sites” page. Your new site will display a message that it is not yet set up. Click the “Setup” button to proceed to the “Manage Site” page. Note: if you don’t see the “Setup” button then your coordinator is not connected to the internet.
In the “Manage Site” page you will see an alert message that your merchant account is not set. In order to set up your account information you will need to contact Genesys for your “MPM” number and password. Once you have this information click the “Set merchant account information” link and fill out the form including choosing your processor. Now click the “Setup” button. Note:The “MPM” number and password must be entered correctly – observe case and note special symbols and characters – failure to enter this information correctly will prevent your system from operating correctly. When configuring your CryptoPay system and entering this information we recommend you ‘copy’ and ‘paste’ this information into the online configuration fields. This will ensure the information is entered correctly.
Configure Swipers – You are now at the Manage Site page (see Figure 3). The section labeled ‘Site Setup Progress’ displays your configuration progress. Your merchant account should now indicate ‘Set’, your Coordinator Status should indicate ‘Connected’ and Swipers/Devices Present should indicate ‘Yes’.
Your swipers are shipped in an out of service mode and must now be configured. Click the ‘Configure’ link in the
CryptoPay Devices section. Name your swiper (Bay 1, Vacuum 1, Pet Wash, etc). Change the Profile from ‘Out of service’ to the profile option that matches your timer profile (see figure 3). You will now have additional fields to fill in. Configure your swiper by completing the ‘Basic Options’, ‘Card Options”, and ‘Button Options’ sections. Click the box next to ‘Confirm Changes’ and then click the ‘Apply Changes’ button. Note: Configure all your swipers.
Final Testing – Your coordinator and swipers are now configured. Swipe a credit card at the swiper and verify that the timer started and the purchase went through. The LED light bar will go blue for a validate swipe or red for an invalidate swipe. The timer will receive a signal from the swiper and activate the wash/vacuum according to the swiper and timer configurations. Note: Ensure that the timer configuration matches the swiper configuration. Note: View your recent purchases at: www.mycryptopay.com/login
Figure 2: Create a New Account