TELESCOPE IN THE POCKET
Irma Hannula1 and Cristina Palici di Suni2 EAAE Summer School Working Group (1Finland, 2Italy)
Abstract
The telescope is a very common observation tool with lots of models and prices. Usually, the problem to get a telescope in the school is the money. Thinking of that, the idea to prepare everyman’s telescope raised up. The materials have to be cheap and the method simple enough, which makes the construction of the own telescope possible.
First, some explorations with a candle and lenses are made to find out how an image of the candlelight is formed on the screen. The test will be done with several kinds of lenses. Two of those lenses are constructed as handwork using very simple technique.
Second, the students will prepare a pocketsize telescope. The construction of this observation tool is very simple, one may say too simple. But it is important to encourage students in the hands-on activity, because it helps them better to understand natural phenomena. Students may try to prepare a lens themselves, using cheap materials and specific method.
The students may test their telescopes in the classroom or outdoors. The main purpose of preparing this tool is to let students to enjoy of their successful work and of the tool made by them.
INTRODUCTION
The first question an astronomer usually faces is ‘how far you can see through the telescope?’ It is natural to continue the pondering of this idea by asking ‘how far you can see with your naked eye?’ Answering to these questions is not so easy. An eye as an observation tool has several limitations. The lens, called the pupil, is small, so it collects light only from a small area. The eye sees two close objects as one object, not as two. These were problems astronomers tried to find solution for. They started to construct different kind of tools to get better observation possibilities.
A lens has a long history, but we are much more interested in how people discovered to combine e.g. two magnifying glass as eyeglasses. According to the books of history, this discovery was made in Italy at the end of 1200 century. The next application of the magnifying glasses was the idea of the binoculars. There are lot of models of construction, but we will concentrate now in the next application use of glasses: telescopes.
Galileo Galilei (1564-1642) heard about a new device to magnify objects used in war and navigation, in May 1609. With great skill and experiments, succeeded to construct a copy, to which gives the name of ‘perspicillum’ and had the brilliant idea to use it for the explorations of the sky: Moon and stars. He developed the observation instrument further and after getting financial and professional promotions, he prepared in a short time a set of bigger and bigger instruments. In January 1610 he had achieved the level 30 of magnification. In this achievement, the instrument has been called a telescope.
Galilei has explored the proceeding of the light in the tube ABCD with and without lenses. When the light goes through the tube it proceeds straight in the same direction forming the image FG in the screen. After he had fixed a lens or lenses in the tube the direction of the light changes and the rays refract forming a narrower beam and an image HI in the screen.
In the Galilean telescope a convex lens, objective, focuses the incoming light to the one point, called the focus. The image can be viewed through a concave lens, in everyday talking called an eyepiece or an ocular. The image in the Galilean telescope is formed in the right position, not upside down like in some other telescopes. This thing is not relevant for astronomers when they observe celestial objects in the sky.
Figure 1. Principle of the telescope drawn by Galilei (Siderius Nuncius p. 25)
It is with emotion that we follow Galileo in his discoveries thought his own words in books he wrote like “Sidereus Nuncius 1610”:
“...infra Stellas...adeo numerosum gregem aliarum, naturalem intuitum fugentium, per Perspicillum intueberis, ut vix credibile sit...” .
“It will be possible to see, with Perspicillum such a great number of stars, invisible by natural seeing, you barely believe it: you can see more stars than all those classified in the six ancient groups of magnitude…”.
Galileo observed with the telescope stars and planets: the stars do not increase their size in a way similar to what happens with a celestial body like, for example, the Moon through the telescope. Planets appear with definite circular globe borderline, not the same for stars where you see “fulgori vibranti” (“vibrating brilliances”).
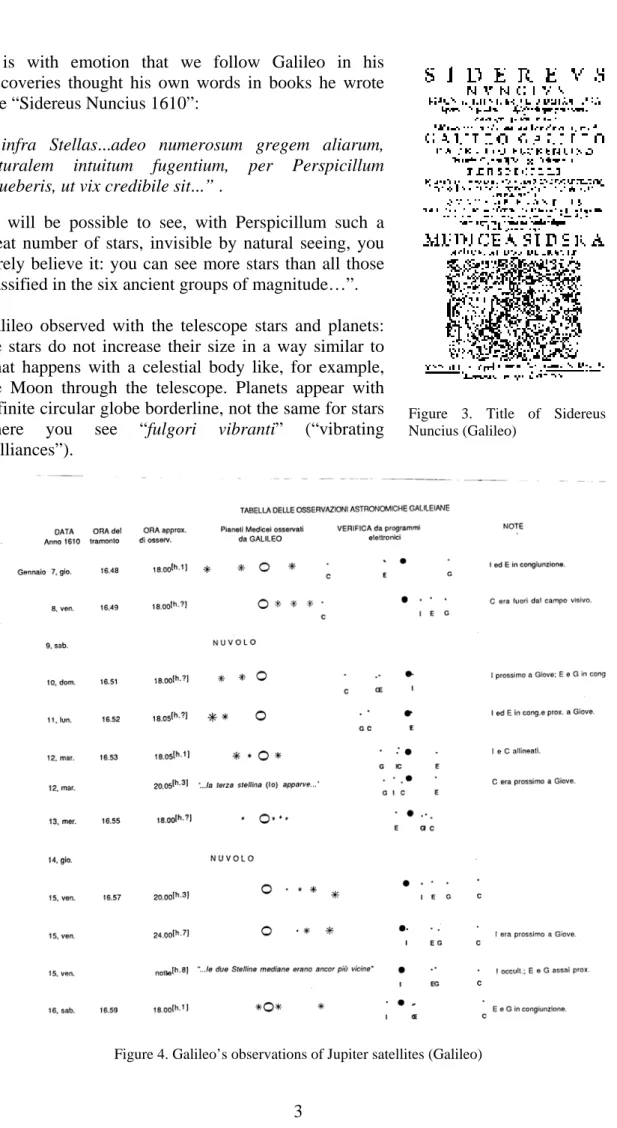
Figure 3. Title of Sidereus Nuncius (Galileo)
Galileo was astonished to see that Milky Way was nothing else than a huge amount of stars: so he could perceive by intuition that Universe should be bigger than what supposed.
From the diary of his observations of Jupiter satellites (see the picture) we imagine the scientist working hardly to compile a schedule, sometimes fighting against bad weather conditions: the problem of all the astronomers! “Nuvolo” means “cloudy”: look at Saturday 9th and Thursday 14th January!.
With an expensive telescope we can buy in a shop we surely have a best seeing of nocturnal sky but with the device we make by ourselves we can better have a feeling (astonished and proud) like probably had Galileo!.
Figure 5 shows a modern construction of the Galilean telescope photographed in the museum of Arts et Metiers in Paris. In the astronomy department there are a marvellous collection of ancient observation tools from different decades. They are designs of high quality and excellent professional skills. In figure 6 is shown a draft scheme of the Galilean telescope drawn by Galileo himself.
Figure 5. Galilean telescope in Arts et Metiers museum in Paris (2008 IH)
The contemporary of Galilei, Johannes Kepler (1571-1630) developed his own version about the telescope. As both an objective and ocular glasses he used convex lenses, and this combination formed an image upside down. At that time, astronomers saw it as an unpleasant thing, but nowadays it is not seen as a problem. This astronomical telescope was not used in systematic observations until 30 years later when Kepler presented his ideas and constructions to the public.
Telescope design as repetition
The idea how the telescope works is similar as in the camera with the lens of long focal length, like a telephoto lens. The light from a distant object is captured and focused to form an image to the focus, the point at the distance of the focal length from the objective. The objective collects light and focuses it in the focus. The image can be recorded using a camera or be magnified with a lens known as an eyepiece or ocular lens before being viewed by eye. This kind of observation is typical for amateur astronomers. The magnification w of the image can be calculated by dividing the focal length f of the objective by the focal length f’ of the ocular lens.
w = f / f’
In fact, the ocular lens is just used as a magnification glass, making the image in the focal point larger. The shorter is the focal length of the ocular lens, the bigger is the magnification. By using different kind of oculars, the objects can be observed with several magnifications.
Summary: Galileo as a great scientist
The inheritance of Galileo is great not only for what every student knows as “metodo scientifico” (scientific method) but also for the new conception of Science, that is first of all to observe and do experiments with the minimum of interaction with Nature. We are passive observers.
Mathematics is the language of Nature. Natural phenomena interpretation is the main task of scientists. Galileo had a great respect for Church and Pope indications in spite of what happened with the famous trial he suffered. Human language is limited; God design-project of Nature is great.
In his opinion there are observations and interpretations of phenomena: when something is going wrong with, (it means something appears to be against teachings and thinking of human sense and authorities indication) it is a problem of human word: we must change the way to interpret the phenomenon, the way to explain, and the words to be used. You never have to manipulate observation results.
Such an open mind allows him to assume that: pure bodies and heavy bodies do not exist (in contrast to the dominant Aristotelian theory), there are various bodies with one physical and not philosophical explanation. And this is the revolutionary idea.
ACTIVITIES
1. The magnification of the convex lens
A few simple experiments can be made to verify the magnification of the lens.
a) Cut two circles or squares from the cardboard or paper. The diameter of the first piece is e.g. 10 or 20 times longer than the diameter of the other one. It means that the areas are 100 or 400 times larger, correspondently. Fix both the pieces in the wall.
b) Look at them from the distance by naked eye. You will see two pieces of paper of different size.
c) Then look the larger piece by naked eye and the smaller one through the lens at the same time. Both your eyes have to be open all at once! This might be difficult to do in the beginning, but practice makes you an expert! Try to see the pieces as two even parts.
d) Place the lens in the distance of the focal length from the eye. Then try to determine the size of the smaller piece so that you can see them again as two even parts.
2. Image of the candle through the lens
Before starting to prepare the own ‘pocket-size’ telescope, some experiments can be done with the lenses.
In figure 8 is shown that a lens forms an image of the object (here a candle) to the focus. The image is seen on the paper sheet in the focus, at the distance of the focal length from the lens. If the paper is transparent or translucent, the image can be examined behind the paper.
By replacing the paper with the other lens, the image can be seen like in the telescope, through the ocular lens.
Precisely said, an image of the very distant object is formed in the focus, at the distance of the focal length from the lens. An image of a quite near object is formed beyond the
focus. The fuzzy image can be got sharp in focus by moving the ocular lens along the axis of the lenses.
3. Preparing a pocket-size telescope
The word ‘pocket’ means, in this context, very small and easy-to-prepare tool, which can be made in the classroom from cheap and ordinary materials.
The intention is not to prepare a telescope of high style or price. The most important aims of this activity are to study the idea of the telescope and to get familiarised with those starting points people had to face in the construction work in ancient times. This process is very educational and that’s why this practical work has taken in the hands-on activities of this workshop.
a) Determine the focal lengths of the lenses. In figure 9 is shown that the larger cylinder has to be longer than the focal length of the objective. The ocular lens can be a lens of the photo camera once in use (disposable photo cameras), free from the shops.
b) Bend a cardboard as the tube and clue the borders together. Because the diameter of the objective is the same as the diameter of the larger cylinder, it is easy to calculate the shorter side of rectangular cardboard. Note that you need some extra for gluing. c) Make the smaller cylinder in the same design as the larger one.
d) Cover the end of the larger cylinder with the cardboard. Make a hole in the middle as large as the smaller cylinder.
e) Fix both the lenses in their right places. Try to find the best fixing method.
f) Make the lenses stable by gluing extra rings in both the ends of the cylinders if needed.
g) An extra ring can also be fixed outside of the larger cylinder for ensuring the Figure 8. Image formation in the convex lens (Fysiikan Ydin 9)
h) Students may ponder and dream about the design work where the lenses are handmade products. The other phases of the preparing work are familiar and quite easy to work out, but preparing the own lenses… That might be one of the mysterious exciting skills one can ever imagine! We all, in this workshop, will think about it, discuss about it and… maybe realise it. Let’s see!.
In Figure 10 is shown one design of the small and cheap telescope. It is not of pocketsize version, but very similar to it. The images hopefully give some hints for students when preparing their own small telescope.
References
Bennett, J., Donahue, M., Schneider, N., Voit, M. 2007. The Essential Cosmic perspective. Fourth Edition. San Francisco, USA: Pearson Education.
Bonera G. 1995. Galileo Oggi- Università degli Studi di Pavia. La Goliardica pavese. Pavia.
Chaisson, E., McMillan, S. 2007. Astronomy. A Beginner’s Guide to the Universe. Fifth Edition. New Jersey, USA: Pearson Education.
Hannula, I. 2005. Need and possibilities of astronomy teaching in the Finnish comprehensive school. Academic dissertation. Report Series in Physics HU-P-D124. Helsinki: Yliopistopaino.
Karttunen, H. 1996. Vanhin tiede. Tähtitiedettä kivikaudesta kuulentoihin. Ursan julkaisuja 59. Helsinki: Tähtitieteellinen yhdistys Ursa.
Figure 9. The basic design of a simple refracting telescope (Astronomy p. 71)
Figure 10. Design of the small telescope (High Power Spotting Scope by Yukon Advanced Optics, IH 2008)
Karttunen, H., Sarimaa, M. 2002. Tiedettä kaikille. Tähtitiede. Ursan julkaisuja 84. Helsinki: Tähtitieteellinen yhdistys Ursa.
Lehti, R. (toim.) 1999. Galileo Galilei - Sidereus Nuncius. Ursan julkaisuja 69. Helsinki: Tähtitieteellinen yhdistys Ursa.
Levävaara, H., Kuusjärvi, P., Pohjola, M., Voutilainen, E. 1985. Fysiikan Ydin 9. Helsinki: WSOY.