BioNumerics Tutorial:
Adding entry information
1
Aim
Adding entry information to a BioNumerics database can be done in two ways: either manually via the key-board, or with the import tools available in the software. The BioNumerics import tools allow information to be imported from external files such as text and Excel files. In this tutorial you will learn how to add information manually using the keyboard and how to use the import routines.
2
Adding entry information manually
1.Create a new database (see tutorial ”Creating a new database”).
2.Click on theDatabase entriespanel to highlight this panel in theMainwindow and selectEdit>Create new object...( ).
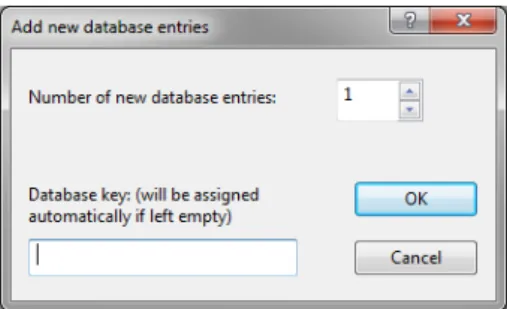
TheAdd new database entriesdialog box appears (see Figure1).
Figure 1:TheAdd new database entriesdialog box for adding new entries to a database.
The dialog box prompts for theNumber of new database entriesto create. TheDatabase keyinput field in the bottom of the window allows a key to be entered by the user. This input field is only accessible when a single entry is added. As soon as the number of entries is specified to be more than one, the field is disabled and the keys will be generated automatically by the software.
3.Enter “3” in theNumber of new database entriesinput box and press<OK>.
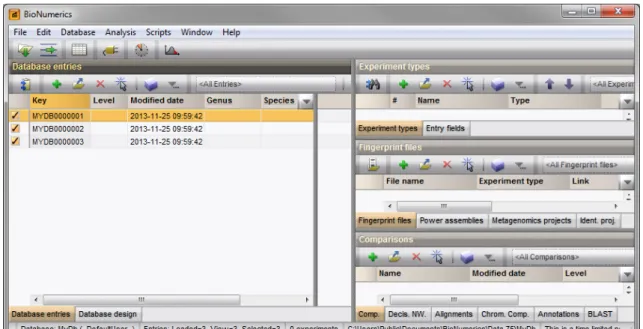
BioNumerics generates unique keys for the three entries. The entries are displayed in theDatabase entries
panel (see Figure2).
4.SelectEdit > Information fields>Add information field... or highlight theEntry fieldspanel and selectEdit>Create new object...( ).
TheCreate new entry information fielddialog box pops up (see Figure3).
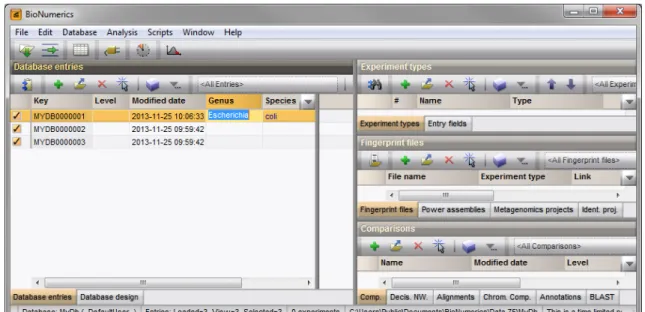
5.Specify aName, e.g. “Genus” and press<OK>.
The new entry information field is created and is displayed in theDatabase entriespanel (see Figure4).
2
Figure 2:TheMainwindow.
Figure 3:TheCreate new entry information fielddialog box.
7.Double-click on a database entry to open theEntrywindow. Information can be edited in theEntrywindow and saved (see Figure5).
8.Close theEntrywindow.
Alternative to using theEntrywindow, information in the information fields can be edited directly by click-ing twice (not double-click) on an information field in the database. The information will appear highlighted and can be edited.
9.Click twice on the information fieldGenusof an entry or select a field and pressCtrl+Enter.
The information appears selected blue against a bright colored background and can be modified (see Figure
6).
10.Use theArrowUpandArrowDown-keys on the keyboard to jump to the previous/next row. 11.To jump to the next column, use theTab-key.
3. Importing entry information from a file 3
Figure 4:TheMainwindow.
Figure 5:TheEntrywindow.
12.To jump to the previous column, pressShift+Tabon the keyboard.
3
Importing entry information from a file
Database information can be imported from text, Excel, and other ODBC-compatible files and linked to new or existing entries using the BioNumerics import routines.
As an exercise, we will import data from the text fileEcoli-info.txt(see Figure7) into a BioNumerics database. This text file can be downloaded from our website: go tohttp://www.applied-maths.com/ download/sample-dataand click onBioNumerics Tutorial Data.
1.Create a new database (see tutorial ”Creating a new database”). 2.SelectFile>Import...( ,Ctrl+I) to call theImportdialog box.
4
Figure 6:Clicking twice on an information field enables direct editing.
Figure 7:Import entries from a text file.
3.In the Import tree, expandEntry information data, highlightImport fields (text file)and press<Import> (see Figure8).
4.Browse for the Ecoli-info.txtfile in the BioNumerics Tutorial data \Database folder and press<Next>.
This brings up a new dialog box (see Figure10). Each column in the selected file corresponds to a row in the grid (column 1 in the file corresponds to row 1 in the grid, column 2 corresponds to row 2, etc.).
5.Select the second row in the grid, press the<Edit destination>button and select theKeyfield from the list. Press<OK>.
The grid is updated (see Figure10).
6.Highlight the five other external fields in the grid panel (Genus, Species, Type, Origin, and Source) using theShift-key. Press the<Edit destination>button and select theEntry info fieldoption from the list. Press<OK>.
7.Press<OK>once more to accept the default suggested names and press<Yes>. The grid is updated (see Figure10).
8.Press<Next>and press<Finish>. 9.Specify a templateNameand press<OK>.
4. Conclusion 5
Figure 8:Import tree.
Figure 9:Select the file to import.
The import template is added to the list and is automatically selected. 10.Press<Next>and press<Finish>.
Twelve new entries are imported, each with six database information fields filled in (see Figure11).
4
Conclusion
Once entries are created/imported in BioNumerics, experimental data can very easily be imported and linked to these entries. Step-by-step procedures on how to import experimental data into BioNumerics can be found in the import tutorials on our website.
6
Figure 10:Define a new import template.