Copyright ©2014 Exadel, Inc.
All rights reserved. www.restxpress.com
Installation Guide
Version 3.1
page 2
Table of Contents
Introduction... 3
Initial Steps ... 3
Case 1: Continuing with Default Settings ... 7
page 3
Introduction
After some initial steps, RESTXpress installation can be done using default settings or using custom settings. This guide will first describe the initial steps for installation. After the point where you choose to use default or custom settings, the document will describe two
separate sets of steps ("case 1" and "case 2") to complete the installation based on which settings are selected.
Initial Steps
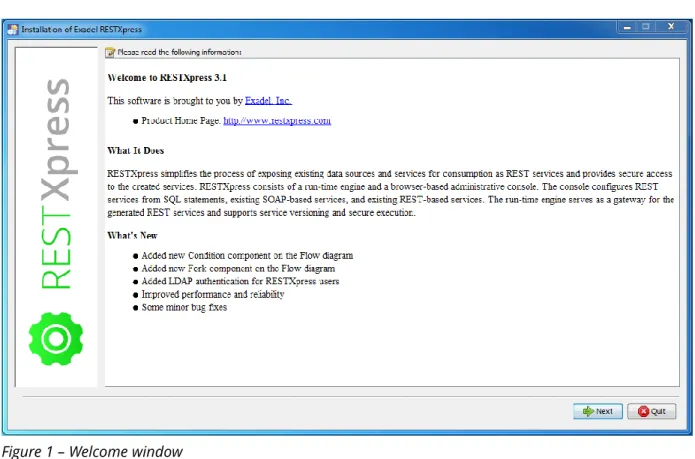
Before starting, make sure you have an application server like Apache Tomcat installed. 1. Unzip the ExadelRESTXpress.zip file and locate the restxpress-installer.jar file. 2. Run the restxpress-installer.jar file. You will see the welcome message, which will
include general information about: Our company
The product
Figure 1 – Welcome window
page 4
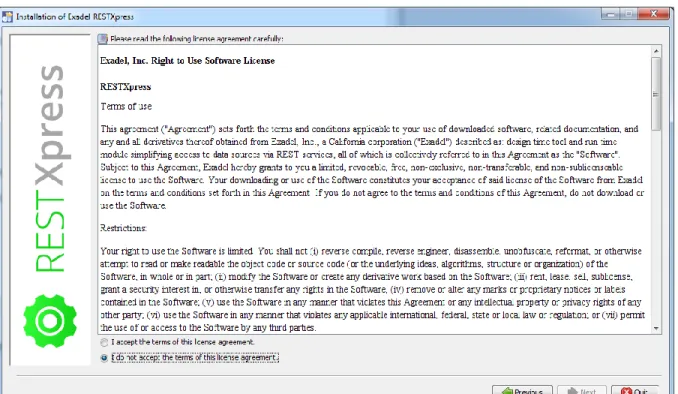
3. In the License Agreement window, check I accept the terms of this license agreement. Otherwise, you will not be able to proceed with the installation.
Figure 2 – License Agreement window
page 5
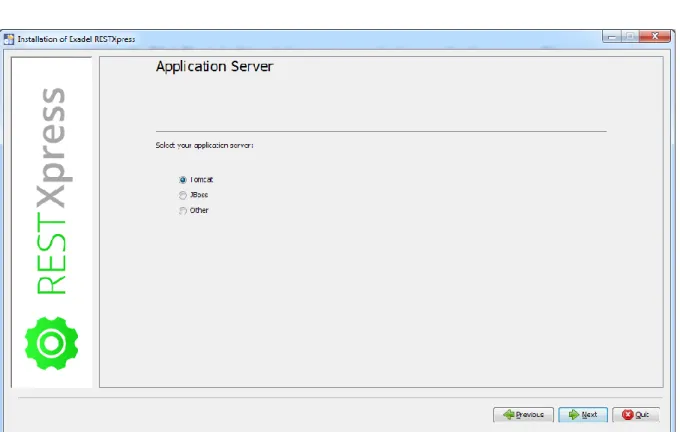
4. In this window, you can select an application server. Choose one: Tomcat
JBoss Other
Figure 3 – Application Server window
page 6
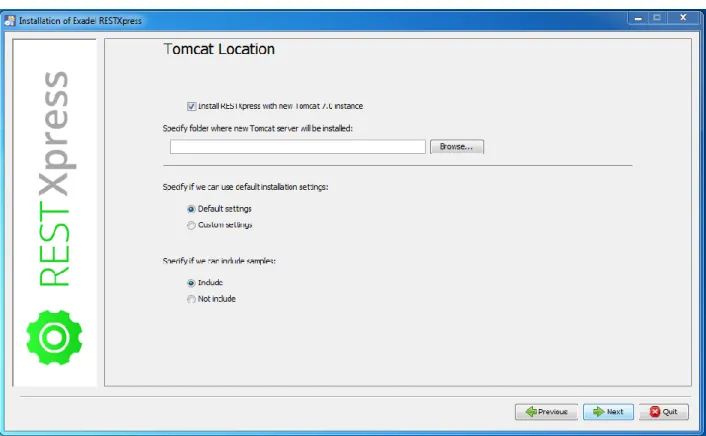
5. In the Location window for the selected application server, specify:
Whether a new Tomcat 7 instance should be installed with the product to be used as the application server (even if Tomcat is already installed).
The location of the selected application server
o For Tomcat, the web application archive files (admin.war and rest.war) will be copied to the tomcat\webapps folder.
o For JBoss, the *.war files will be copied to the standalone\deployments folder.
o For Other, the *.war files will be copied to the selected folder. Whether the default installation is to be used.
Whether samples should be included or not in the installed database. (For more information about samples refer to the RESTXpress User Guide.)
Figure 4 – Tomcat Location window
From this point on, the installation steps will differ depending on whether Default settings or Custom settings is selected, so we will follow each pathway in its own section.
page 7
Case 1: Continuing with Default Settings
1. With default settings selected, click Next in the Location window. Then, in the
Installation Progress window, wait until the installation process completes.
Figure 5 – Installation Progress window
page 8
2. At this point the installer checks to see if you already have an installed version of RESTXpress. If it does find something, it displays a special window; otherwise, this step is skipped. The window displayed will vary based on whether you have an older version or the current version installed.
If you have an older version, you will be asked if you want to update your old
created configurations (REST resources, validators, etc.) to work with the new version and be available for use. Choosing No will discard the old configurations.
Figure 6 – Window displayed when older version of RESTXpress found
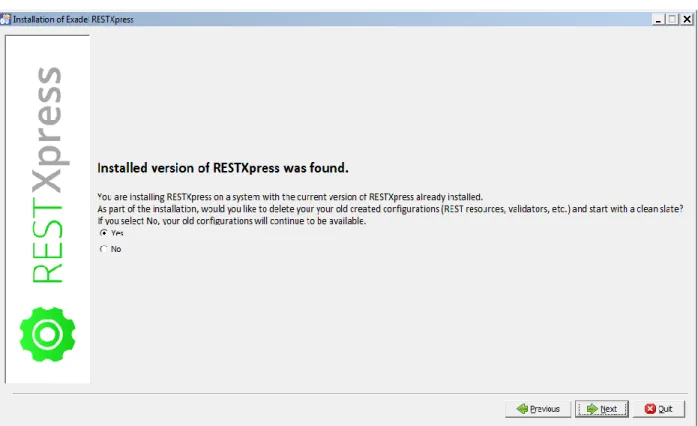
If you have the current version of RESTXpress installed, you will be asked if you want to delete your old created configurations (REST resources, validators, etc.) and start with a clean slate. Choosing No will keep your old configurations.
page 9
Figure 7 – Window displayed when current version of RESTXpress found
page 10
3. If you had earlier selected the option to install samples, at this point, the installer checks to see if you already have samples from a previous installation. If this is true, it displays a special window; otherwise, this step is skipped. In this window, you will be asked if you want to replace the older samples. Choosing No will keep your old samples.
Figure 8 – Window displayed when pre-existing samples are detected
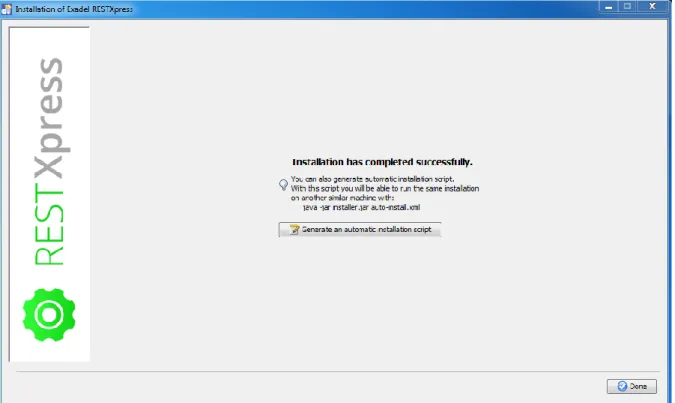
page 11 4. In the Installation Complete window, you can:
Find the location where the uninstaller program has been created.
Generate an automatic location script in XML format that enables you to run the same installation on another similar machine with the java -jar installer.jar auto-install.xml command.
Figure 9 – Installation Complete window
Click Done to exit the installer.
5. After the installer exits, the RESTXpress: Request for Trial License page will be opened in your browser. On this page you can either request a trial license or a paid license.
page 12
Case 2: Continuing with Custom Settings
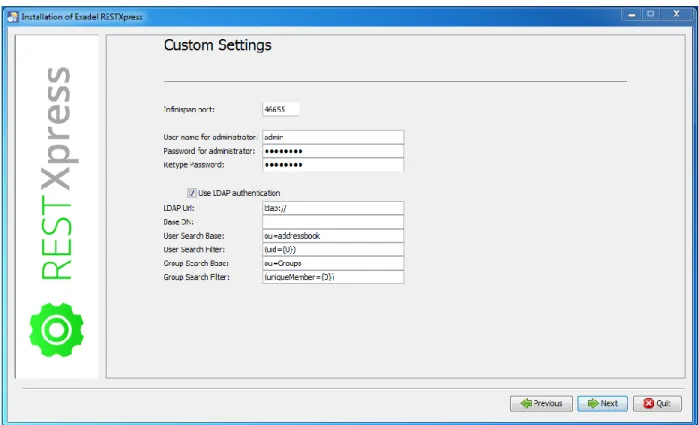
1. With custom settings selected, click Next in the Location window.2. In the Custom Settings window, specify:
Infinispan port, which specifies the port for data synchronization
User name for administrator, which specifies the administrator name used for authorization
Password for administrator, which specifies the password used for authorization
NOTE: To make sure the required password is entered correctly, it must be retyped in the Retype password field.
3. In this same window, you can also check
Use LDAP authentication, which allows you to use LDAP authentication per the parameters you set in the form below the checkbox.
Figure 10 – Custom Settings window
NOTE: The authorization data can be changed in the restxpress-users.properties file. Click Next.
page 13
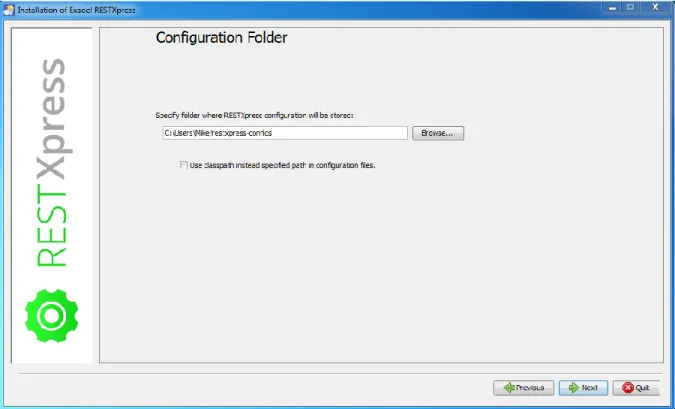
4. In the Configuration Folder window, specify the location where the RESTXpress configuration will be stored.
This specified folder will also contain two additional files: resxpress-api.jar and README.txt. The resxpress-api.jar file is required for implementing custom validators, filters, and authenticators. The README.txt file contains several important tips. You also just select “Use classpath…” instead.
Figure 11 – Configuration Folder window
page 14
5. At this point the installer checks to see if you already have an installed version of RESTXpress. If it does find something, it displays a special window; otherwise, this step is skipped. The window displayed will vary based on whether you have an older version or the current version installed.
If you have an older version, you will be asked if you want to update your old
created configurations (REST resources, validators, etc.) to work with the new version and be available for use. Choosing No will discard the old configurations.
Figure 12 – Window displayed when older version of RESTXpress found
If you have the current version of RESTXpress installed, you will be asked if you want to delete your old created configurations (REST resources, validators, etc.) and start with a clean slate. Choosing No will keep your old configurations.
page 15
Figure 13 – Window displayed when current version of RESTXpress found
page 16
6. If you had earlier selected the option to install samples, at this point, the installer checks to see if you already have samples from a previous installation. If this is true, it displays a special window; otherwise, this step is skipped. In this window, you will be asked if you want to replace the older samples. Choosing No will keep your old samples.
Figure 14 – Window displayed when pre-existing samples are detected
page 17
7. In the Selecting Packs window, check the *.war files to be copied to your Tomcat webapp directory:
RESTXpress engine module, which contains the engine itself
RESTXpress admin module, which contains the administrator module
Figure 15 – Selecting Packs window
page 18
8. In the Verification window, check the following data: Application server location
Configuration folder Infinispan port
User name for administrator Password for administrator
Figure 16 – Verification window
page 19 9. Wait until the installation process completes.
Figure 17 – Installation Progress window
page 20 10. In the Installation Complete window, you can:
Find the location where the uninstaller program has been created
Generate an automatic location script in XML format which enables you to run the same installation on another similar machine with the java -jar installer.jar auto-install.xml command
Figure 18 – Installation Complete window
Click Done to exit the installer.
11. After the installer exits, the RESTXpress: Request for Trial License page will be opened in your browser. On this page you can either request a trial license or a paid license.