InSite-Lite Seismic Processor: User Operations
Manual
v 3.16.3
September 2020
Applied Seismology Consulting Ltd.
Suite 2, Observer House, Abbey Lawn, Shrewsbury SY2 5DE, UK Tel: +44 (0) 1743 384 171
Email: [email protected] ● Web: appliedseismology.co.uk
ii
Applied Seismology Consulting Ltd. is an ISO 9001:2015 certified company and operates a Quality Management System that provides quality assurance of our products and management procedures.
Acknowledgments
The authors would like to acknowledge the individual contributions made by the staff of Applied Seismology Consulting Ltd. to the production of the InSite software and this documentation.
iii
Contents
Contents ... iii
1.
Step 1 InSite-Lite Installation ...1
2.
Step 2 InSite-Lite Licence Activation ...5
3.
Step 3 Project Setup ...8
4.
Step 4 Data Import ... 10
5.
Step 5 Microseismic Waveform Processing ... 11
6.
Step 6 3D Visualiser ... 14
InSite-Lite is the free version of ASC's InSite Seismic Processor. This version has limited functionality.
Functions only available only for users of the full version of InSite show a ‘$’ symbol. Contact us at [email protected] for information about how to upgrade to the full version.
InSite is an integrated data acquisition, management, processing, visualization and interpretation software developed for seismological studies. InSite provides a solution for all seismology applications, ranging in scale from acoustic emissions in the laboratory, through microseismics around mining and petroleum fields, up to regional-scale earthquakes.
The following sections present a summary on how to install and work with an example project in InSite-Lite. The help menu in InSite Lite cover all the functions in InSite. You can also find further tutorials and demonstration videos in the ‘Support’ section of our website appliedseismology.co.uk.
1.
Step 1
InSite-Lite Installation
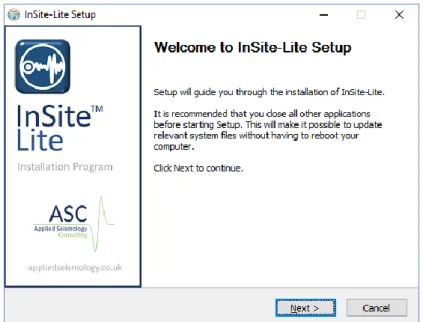
After downloading the installation file, please follow the following steps:
• executing it will launch the dialog shown in Figure 1. Click Next to continue
• The second screen (Figure 2) in the installation dialog shows the terms and conditions of use of
InSite-Lite. Scroll down to read the full terms and click ‘I agree’ to continue. By continuing with the installation, the user agrees with ASC’s terms and conditions.
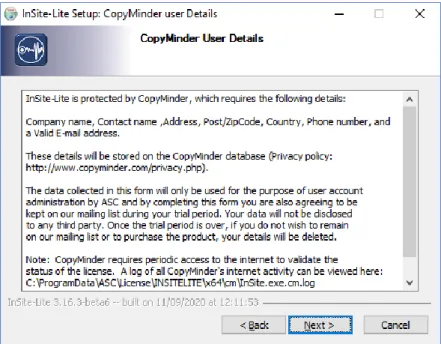
• The next screen shows the Privacy Policy (Figure 3). Click Next to continue with the installation. By
clicking ‘Next’ the user accepts CopyMinder’s Privacy Policy.
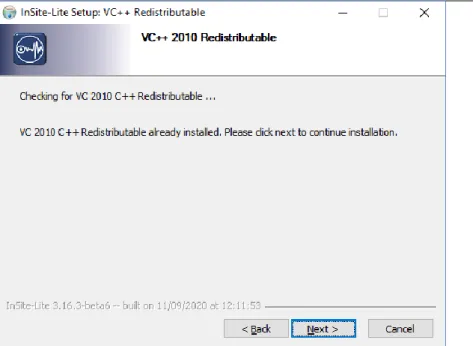
• The next step checks the installation of the prerequisite VC 2010 C++ (Figure 4). Click Next to proceed. • Select the PC users with access to InSite-Lite (Figure 5). Click ‘Next’ to proceed.
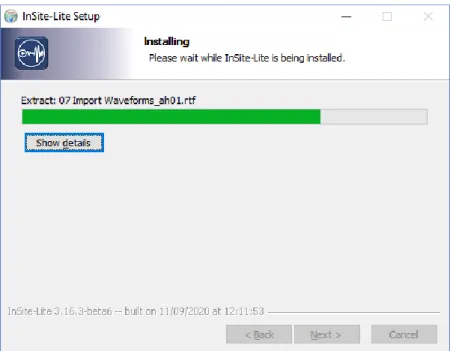
• Choose the installation folder (Figure 6). By default. InSite-Lite is installed in ‘C:\Program Files\ASC\InSite-Lite’. Click ‘Install’ to proceed.
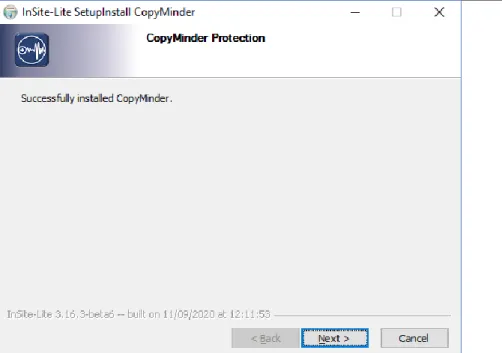
• After Licence key installed a confirmation screen is reached (Figure 8). Click ‘Next’ to finalise installation.
• Once installation is completed a confirmation screen is shown (Figure 9). Click ‘Finish’ to exit the
installation.
2
Figure 2: InSite-Lite setup program. Licence Agreement.
Figure 4: InSite-Lite setup program. Installation of VC 2010 C++ Redistributable pack.
4
Figure 6: InSite-Lite setup program. Program installation folder.
Figure 8: InSite-Lite setup program. Installation of program key.
Figure 9: InSite-Lite setup program. Installation completed.
2.
Step 2
InSite-Lite Licence Activation
On first execution of InSite-Lite, the software licence key will be activated. Please ensure the PC is connected to the Internet. To activate the licence, proceed through the following steps:
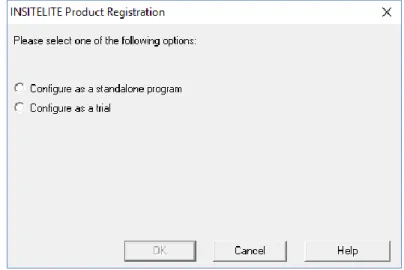
• On first execution, a dialog is launched to select the type of licence (Figure 10). Select ‘Configure as a trial’ if you do not have a licence code. This option will activate the licence for a trial period of 90 days.
• A window will confirm the selection (Figure 11). Click ‘OK’ to proceed with licence registration. • Enter user’s details to register and activate the licence (Figure 12). Click ‘OK’ to submit your details.
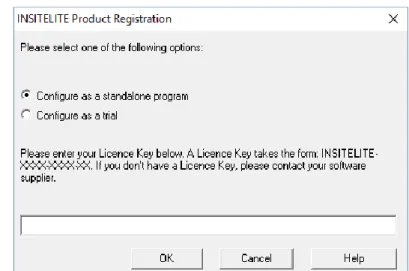
• A verification email is sent to registered user (Figure 13). Click on the link to verify your registration. • Once user’s details are verified, a confirmation page will confirm licence activation (Figure 14) • PLEASE NOTE: You can select ‘Configure as a standalone program’ (Figure 15) only if you have been
provided with a licence code. If you want to select this option, contact ASC support team at [email protected].
6
Figure 10: InSite-Lite. First execution.
Figure 11: InSite-Lite. First execution information.
Figure 13: InSite-Lite. User verification email.
Figure 14: InSite-Lite. Licence activation confirmation.
Figure 15: InSite-Lite. First execution option if you have been provided a Licence Key. PLEASE NOTE, this option is only available by contacting ASC at [email protected]
8
3.
Step 3
Project Setup
Installation of InSite-Lite includes an example project to familiarise with the use of the software. Please copy and paste the tutorial folder in the installation path, C:\Program
Files\ASC\Insite-Lite\Quick Start Tutorial, to a folder where you can read and write. Please follow through this
tutorial in the following order using the data and PCF (project file) file provided.
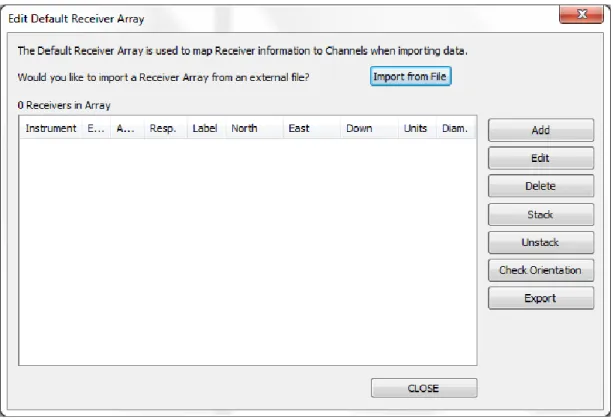
The first step when working on a project in InSite is the import or creation of a sensor array with channel numbers matching those in the harvested or imported seismic waveform data files.
In this example, the .pcf file is already set with the correct sensor array and this step can be skip. The following details are for information only and working on a fresh project.
1. In InSite's 'Data Visualiser' click ‘Project->Edit Default Arrays-> Receivers’. Alternatively,
the same Dialog can be called clicking on
Figure 16: Array Input and Edit Button
in the main toolbar in Data Visualiser
2. the array can be imported from a ready-made .sen or .csv file (examples included in the folder
C:\Program
Files\ASC\Insite-Lite\Examples)
following the format described in later sections by clickingImport from File. Alternatively, each sensor can be manually added by clicking Add and completing the properties menu.
Figure 17: Array Input and Edit Dialog
10
4.
Step 4
Data Import
InSite-Lite can import a variety of data formats.
In this step, we just import triggered SEGY format data. Notice that the tutorial SEGY data are triggered event data.
1. Create an empty folder ESF under the same directory as the SEGY folder.
2. Click ‘Project -> Import and Manage Data...’ Make sure the Import Directory and the ESF
Storage Directory are set correct (see figure below)
3. Select the root of the file tree and click ->Import->, all .sgy files will be imported to InSite and stored as ESF files in the specified ESF folder.
Note: there are 50 events imported into InSite-Lite
4. Right-click on any one event and select View Waveforms. You will notice that some first arrivals were already picked. The free version of InSite-Lite does not have automatic first arrival picking. In the next step, we will manually pick or re-pick the first arrivals and locate events using homogeneous model.
5.
Step 5
Microseismic Waveform Processing
Once we have setup the monitoring array and imported waveforms, we are ready to process microseismic events.
InSite provides 3 ways of processing:
• Automatic processing or batch processing: the procedures are defined in the auto-processor by users
(available in the full version of InSite).
• Online processing: process the data while triggering. In online processing, procedures are not specified by users
and determined by the type of data automatically (available in the full version of InSite).
• Manual processing: each step of processing is conducted by users. In this step, we will introduce the automatic
processing and manual processing. Adjusting processing parameters:
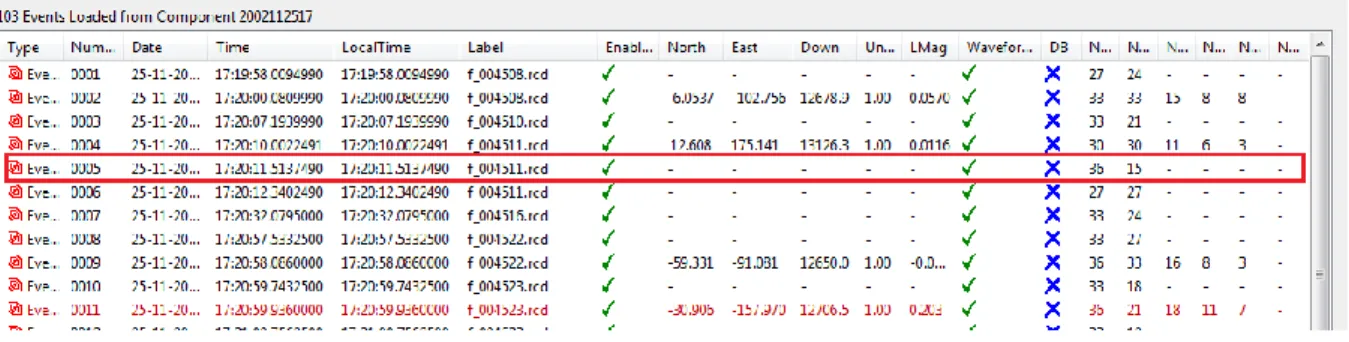
• Right-click on one event that was not located successfully. In the example shown below, event 5 is not
located.
Figure 19:Some events are not located in the triggering and online processing step
12
To adjust the first arrivals, users could either use
Draw P Arrival Pick Moveoutor
Draw SArrival Pick Moveout
or
Add P Arrival Pickor
Add S Arrival Pickto manually adjust
the first arrivals. Shortcuts
Shift + Aand
Shift + Dare used frequently.
14
• Click the location button to relocate the event. This event is thus relocated manually. You may want to repeat
this procedure for all other events. Tips: you can repick all first arrivals only without click the locate button. The full version of InSite includes an autoprocessor to batch processing all events.
• Other parameters can also be adjusted. For example, the source vector time window, auto-picking parameters,
or parameters in locater.
• This step gives you some flavour about how tedious the processing can be. Advanced locating method such as
source scan has been developed to automate this process to a certain degree. However, at the end of the day it is the sole responsibility of the processor to ensure the quality and the reliability of the processing outcome.
6.
Step 6
3D Visualiser
InSite provides comprehensive 3D visualisation to assist interpretation of fracture propagation. See Location Visualiser for details. In this tutorial we will explore two functions including displaying events by different colour and size scales and play events as a function of time.
Display events by different colour and size scales
•
Enter the 3D visualiser and click Properties. In the tab of Events, display the event by sphere symboltype, and colour scale by time and size scale by signal-to-noise ratio (see figure below). Now
you will be able to tell when and where a good quality event is located. For automatic processing, this is a good trick to emphasize good quality events to reveal major failure zones.
Figure 22: 3D visualiser
Figure 23: Set parameters to play events by time
• Click Play Events button to start. The events will appear on screen as a function of time. The historical events
will be displayed in transparent mode and the active events are in solid mode. This is a very useful tool to understand the time and space patterns of the microseismicity.
A few other functions that are worth of mentioning include (see figure below):
1. Treatment Curves: you can import engineering data such as those from hydraulic fracture treatment, e.g. well head
pressure, proppant concentration, etc. Those parameters can be displayed as a 2D chart (Step 7 Parameter analysis and 2D charting see "2D charts") and also be used to scale or colour events.
2. Uncertainty: Since v3.15, you can evaluate the uncertainty using Bayesian Posterior probability by giving the uncertainty in arrival time, velocity model and source polarization.
3. Calculate stimulated volume: two ways of calculating the rock volume stimulated by fractures, one is to fit a box to the event cloud and the other is by tightly fitting an isosurface.
4. Array Analysis: this function can be used to quantify the sensitivity and the location accuracy of the employed
16
Figure 24: Additional functions available for interpretation
7.
Step 7
Data and results Export
By this time, you have exported 3D visualisation figures and 2D charts for display purpose. In this section, you will export quantitative information such as waveform and event catalogue for further data processing. InSite support a variety of data format such as ASCII format like ATF and binary format like SEGY, SEGD, SEED/miniSEED etc.
Export waveform
•To export waveform for one event, enter Waveform-Moveout by clicking the global button and make sure
View->Export Bar has been selected.
• Click ATF to export the displayed waveform to a file in ASCII format. In the same folder as the ESF file, you will find a number of ATF files each corresponding to one channel.
•Clicking MSEED will export the waveform in miniSEED format. In the same folder as the ESF file, you will find a
new file with same file name as the ESF file but ends with .miniseed.
Note: This way is to export the observed waveform to the corresponding file format. If waveform is filtered, or rotated to P-SH-SV coordinate, the processed waveform will be stored instead of the original raw file. To export raw waveform or processed waveform, you can use the auto-processor. See AutoProcessing for details.
Export Catalogue
Microseismic catalogue can be exported with different level of details. Make sure you are in Data
Visualiser; the drop-down menu from Export shows different ways of exporting catalogue information.
See the Export sub-menu for details.
• Export CSV Event Data File is the most common function. It exports parameters such as time, location, magnitude
etc for each event. Please export a file and review the content in it. You can open CSV file by EXCEL.
•Export CSV Instrument Data File has more details than Event Data file. Each pair of source and receiver is stored